Motorcycle Assembly Line Design Plan and Manufacture —–E-scooter Assembly Line Fabricate Factory—-exported to many countries
Description
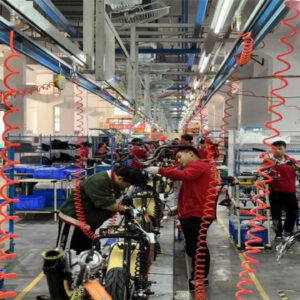
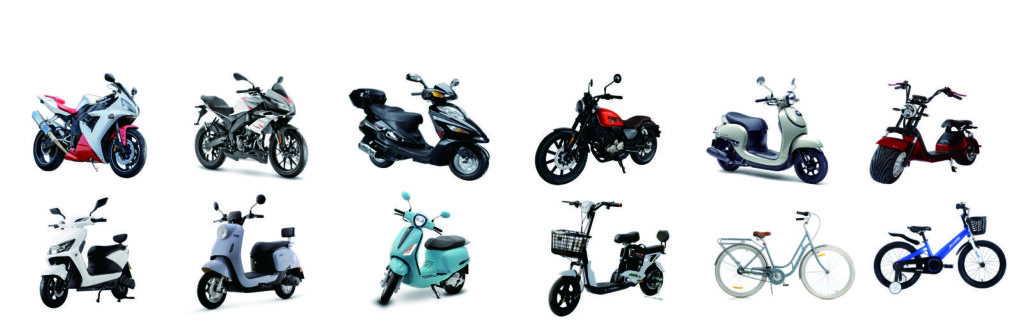
Motorcycle Assembly Lines are Suitable to Assemble/Produce 2 wheel Motorcycles, 2 wheel Scooters, 2 wheel Electric-cycles, 2 wheel E-Bikes, Bicycles, and so on.
Motorcycle Assembly Line
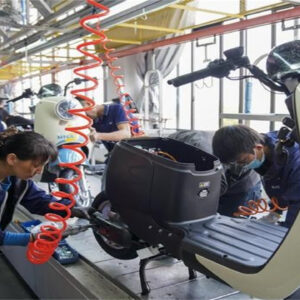
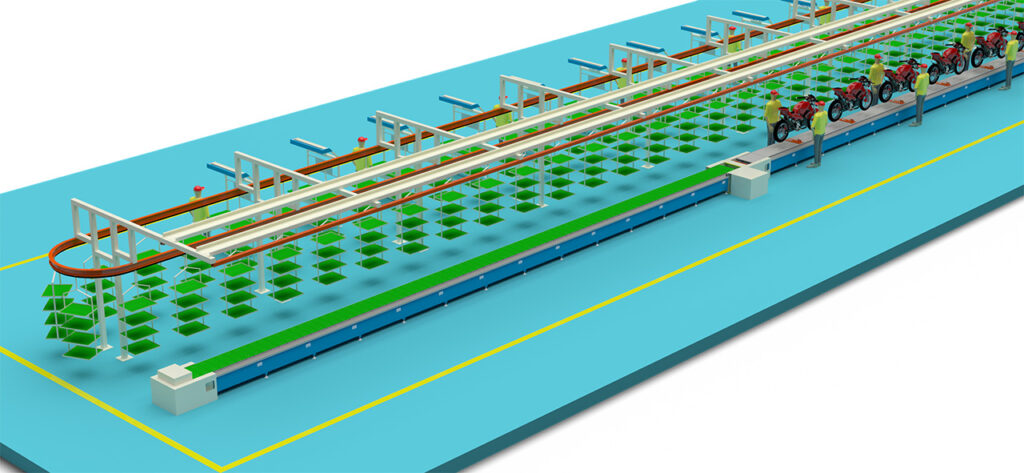
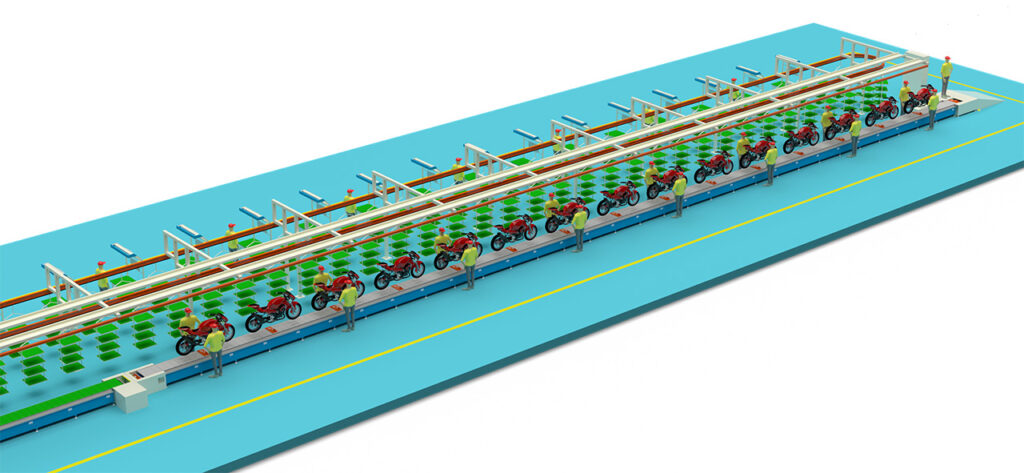
This is a comprehensive introduction to the “Motorcycle Assembly Line.” A motorcycle assembly line is a complex and precise manufacturing system that transforms thousands of parts into a fully functional motorcycle through a series of sequential operations.
Core Objectives and Characteristics of a Motorcycle Assembly Line
High Efficiency: Assembly line workflow drastically reduces the production time per motorcycle.
High Quality: Standardized processes and strict quality inspections ensure product consistency.
Low Cost: Automated equipment and detailed labor division reduce manpower costs and production waste.
Scalability: Production lines can be flexibly adjusted for the mixed-model production of different motorcycle types.
Typical Assembly Line Process Steps
A modern motorcycle assembly line is typically divided into several main stages:
1. Frame Loading and Preparation
Frame Mounting: The empty frame, which is the “skeleton” of the entire vehicle, is hoisted onto the conveyor belt of the assembly line.
Front-end Installation: At this station, workers install components like the front forks, steering stem, and handlebars.
2. Powertrain Installation
This is a core step. The engine and transmission assembly (powertrain) is precisely lowered into the frame by a robotic arm or lifting device and bolted into place.
3. Rear Wheel and Suspension System Installation
The rear swingarm and rear shock absorber are installed. Then, the rear wheel assembly (including the tire, brake disc, sprocket, etc.) is fitted onto the swingarm.
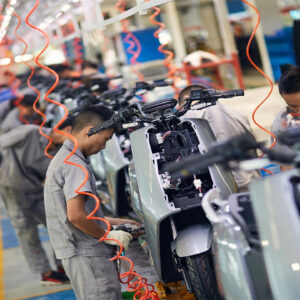
4. Electrical System Wiring
Workers route the main wiring harness throughout the vehicle, connecting various electrical components such as the ECU, battery, sensors, and lights. This process requires high craftsmanship to ensure the harness is neat and securely fastened.
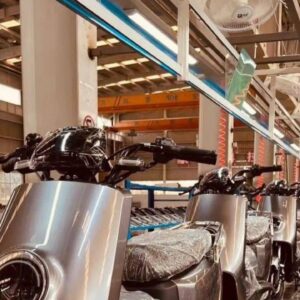
5. Fuel Tank and Bodywork Installation
The fuel tank, seat, side covers, fenders, and other large exterior body panels are installed.
6. Front Wheel Installation and Fluid Filling
Install Front Wheel: The front wheel assembly is installed onto the front forks.
Fill Fluids: Engine oil, coolant, brake fluid, and other necessary fluids are added.
7. Final Assembly and Preparation
Install Exhaust System: The exhaust pipe and muffler are fitted.
Install Battery: The battery is installed, preparing the motorcycle for its first start.
Add Fuel: A small amount of fuel is added for testing purposes.
8. Off-line Inspection and Testing
This is the final checkpoint to ensure vehicle quality, typically including:
Start-up Test: The engine is started for the first time to check for abnormal noises or leaks.
Lighting and Electrical Test: All lights, instruments, and switches are checked for proper operation.
Brake Test: Brake performance for both front and rear wheels is tested on a roller test bench.
Wheel Alignment and Side-slip Test: Ensures the front wheel alignment is correct.
Chassis Inspection: Verifies the torque of all critical bolts.
Water Spray Test: Simulates rainy conditions to check for any water leaks.
Road Test (Sampling): A professional test rider conducts a short ride on an in-plant test track to check the vehicle’s dynamic performance.
After passing all tests, the vehicle undergoes final cleaning and packaging before being shipped to dealers.