Air Conditioner Assembly Line Process—Air Conditioner Assembly Line Design and Fabricate Factory in China
Description
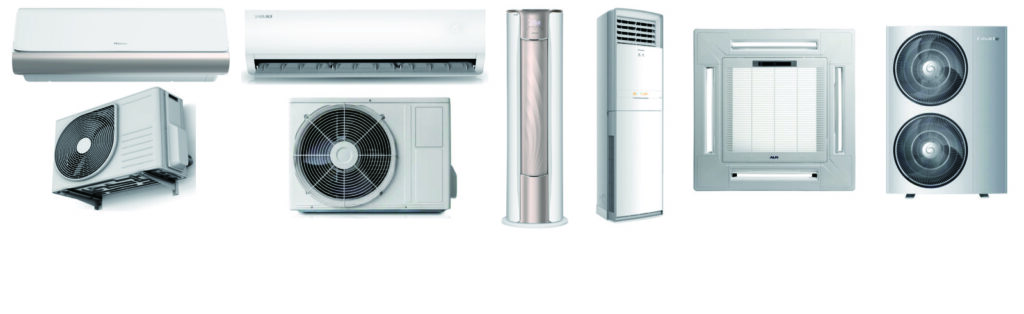
We specialize in providing comprehensive solutions for Air Conditioners Assembly Lines/Production Lines.
Air Conditioner Assembly Lines/Production Lines are Suitable to Assemble/Produce Air Conditioners.(Welcome to contact us, we will suggest and design the suitable Assembly Lines/Production Lines for your Air conditioners.)
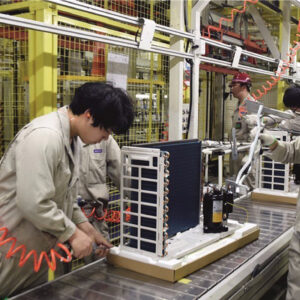
Core Assembly Process (Using the Outdoor Unit Line as an Example)
Outdoor units are heavier and more complex than indoor units, making their assembly line a typical representative example.
Phase 1: Sub-Assembly
Performed in parallel next to the main assembly line to provide “modular” components for the main line, improving overall efficiency.
1. Electrical Control Box Sub-Assembly:** Installing the mainboard, capacitors, relays, and other electrical components onto the control box baseplate.
2. Motor-Fan Sub-Assembly:** Assembling the motor, fan blade, and bracket into a single unit.
3. Compressor Sub-Assembly:** Pre-assembling the compressor with attachments like vibration dampers.
Phase 2: Main Assembly (Main Line Assembly)
1. Cabinet Loading: The empty sheet metal outdoor unit cabinet is hoisted or placed onto the assembly line.
2. Install Core Components:
Install Heat Exchangers: Mount and secure the condenser and evaporator (collectively called the “two cores”) onto the cabinet base.
Install Compressor: Install the pre-assembled compressor into position.
Connect Refrigerant Lines: Connect the copper pipes between the two cores and the compressor, performing initial nut tightening.
3. Electrical System Installation:
Install Electrical Control Box Assembly: Place and secure the pre-assembled control box into the cabinet.
Wiring & Connection: Connect the wiring harnesses to all electrical components (compressor, motor, reversing valve, etc.).
4. Install Motor-Fan Assembly: Install the pre-assembled motor-fan unit into the top section and connect its wiring.
5. Panel Installation & Tube Management:
Install the top cover, side panels, etc.
Organize and secure internal tubing to prevent vibration and noise.
6. Fastening & Inspection:
Critical Process: Use torque wrenches or servo-electric guns to perform final tightening on all critical connection points (especially compressor base nuts and tube connection nuts). Torque data is recorded for traceability.
Visual Inspection: Check the cabinet for scratches and ensure all components are properly installed.
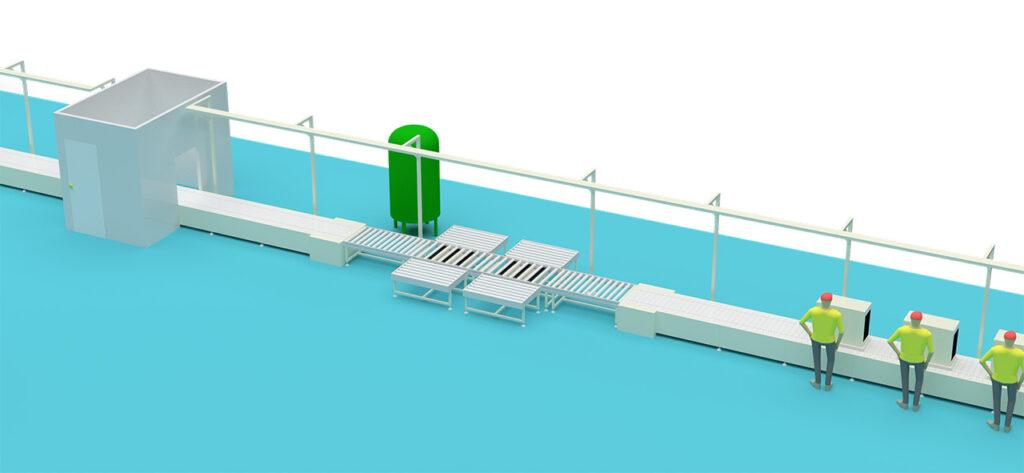
Phase 3: Testing & Packaging
This is the final checkpoint to ensure outgoing quality.
1. Leak Testing (Helium or Refrigerant): Pressurize the system with helium or refrigerant and use a high-precision leak detector to check for micro-leaks. This is a critical quality step.
2. Vacuum Evacuation & Refrigerant Charging:
Evacuation: Use a vacuum pump to thoroughly remove air and moisture from the system.
Charging: An automatic charging station injects the refrigerant to the precise pre-set mass.
3. Electrical Safety Tests: Perform dielectric strength tests, ground resistance tests, etc., to ensure electrical safety.
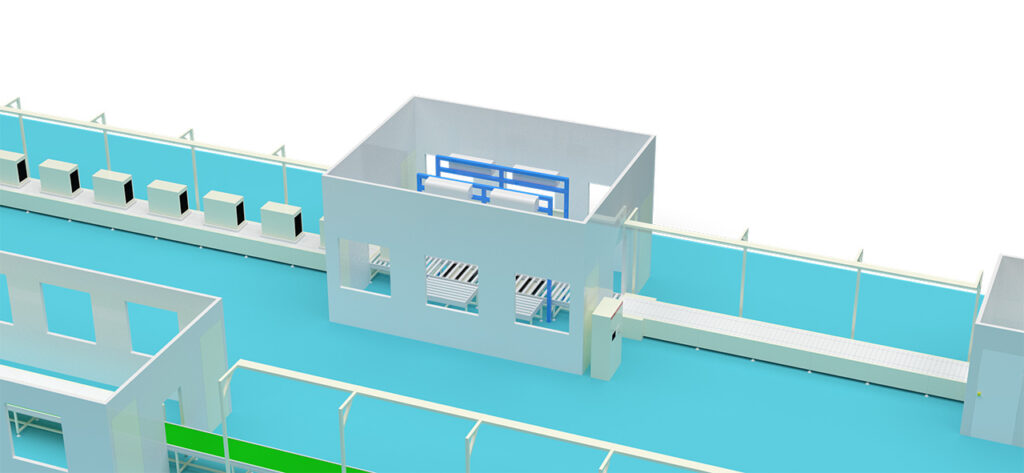
4. Performance Test (Final Test):
Send the outdoor unit into a performance test chamber, connect it to a simulated indoor unit, and run it under full load.
Tests include: cooling/heating capacity, operating current, pressure, noise, vibration, etc. A computer automatically judges if all data passes.
5. Install Shipping Securing Items: Install components like compressor shipping brackets to prevent transport damage.
6. Cleaning & Labeling: Clean the unit, apply the energy label, nameplate, and barcode.
7. Packing: Bag the unit, add foam caps/inserts, place accessories (connection pipes, manual), seal the carton, and palletize.