TV Final Assembly Line—Main Process Flow of the Final Assembly Line
Description
We are a professional manufacture of TV Assembly Line/TV Production Line solutions.
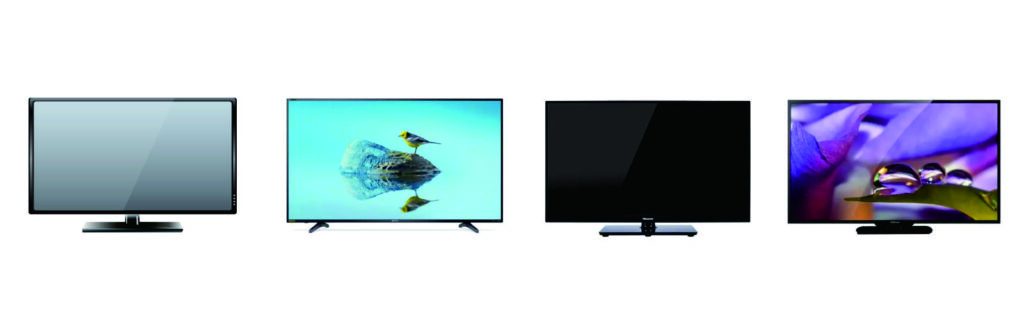
TV Assembly Lines/TV Production Lines are Suitable to Assemble/Produce following Televisions and TVs and so on.
Main Process Flow of the Final Assembly Line
The final assembly line is typically one or multiple parallel conveyor belts with processes arranged in sequence. Below is a typical flow:
1. Casing Preparation and Loading
Operators or robotic arms place the front bezel and rear cover onto the line’s fixtures.
Some small components, like buttons or IR receiver windows, may be pre-installed.
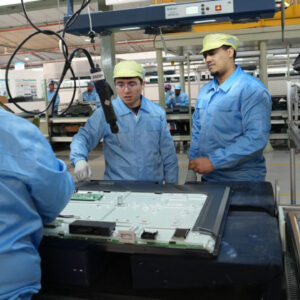
2. Internal Component Installation
Installing Mainboard and Power Board: Robotic arms or operators precisely install the mainboard, power board, etc., into designated slots or screw pillars on the rear cover.
Installing Speakers: Speaker units are fixed into designated positions on the sides or bottom of the casing.
Cable Connection: All cables between the mainboard, power board, speakers, LED light bars (for LCD TVs), etc., are connected. This step requires high proficiency and responsibility from operators.
3. Display Module Integration
This is the most critical step. Robotic arms (to prevent damage) or multiple operators working in coordination carefully place the display module precisely into the front bezel.
Ensure a tight fit between the module and the casing, without gaps or foreign objects.

4. Fastening and Integration
Use automated or handheld screwdrivers to fasten the front and rear covers together and secure the internal boards.
Apply various information labels (model number, serial number, energy efficiency label, etc.).
5. Initial Power-On Test (Initial Check)
At a specific station on the line, the TV is connected to power and booted up for the first time.
6. Aging Test (Burn-in)
TVs that pass the initial check enter a dedicated aging area.
They are powered on uniformly and play dynamic video content continuously for several hours at high brightness and contrast.
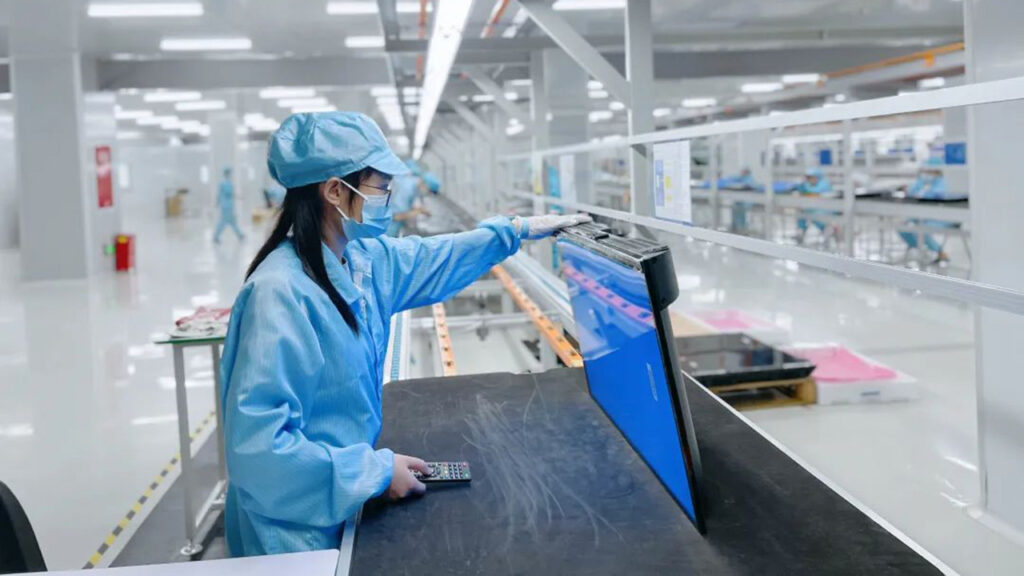
7. Final Inspection and Calibration
TVs that have undergone aging proceed to the final inspection station. Testing here is comprehensive:
Image Quality Inspection: Using test patterns (e.g., solid colors, grayscale, grids), check for dead pixels, bright spots, dark spots, uniformity issues, etc., either manually or via Automated Optical Inspection (AOI).
Audio Test:Play audio to check if all channels are working properly and for any distortion or noise.
Function and Interface Test: Test each HDMI port, USB port, network port, AV input, etc., individually for proper functionality.
Smart System and Network Test: Test operating system fluency, Wi-Fi/Bluetooth connection stability, and whether pre-installed apps run correctly.
Software Loading and Configuration: Install the final firmware version and perform a factory reset.
8. Cleaning and Cosmetic Inspection
Use lint-free cloths, ionizing blowers, etc., to remove dust and fingerprints from the screen and body.
Operators perform a final visual inspection of the TV’s appearance to ensure no scratches, dents, or stains.
9. Accessory Packaging
Place all accessories—remote control, batteries, power cord, user manual, warranty card, stand, etc.—into the packaging box according to their standard positions.
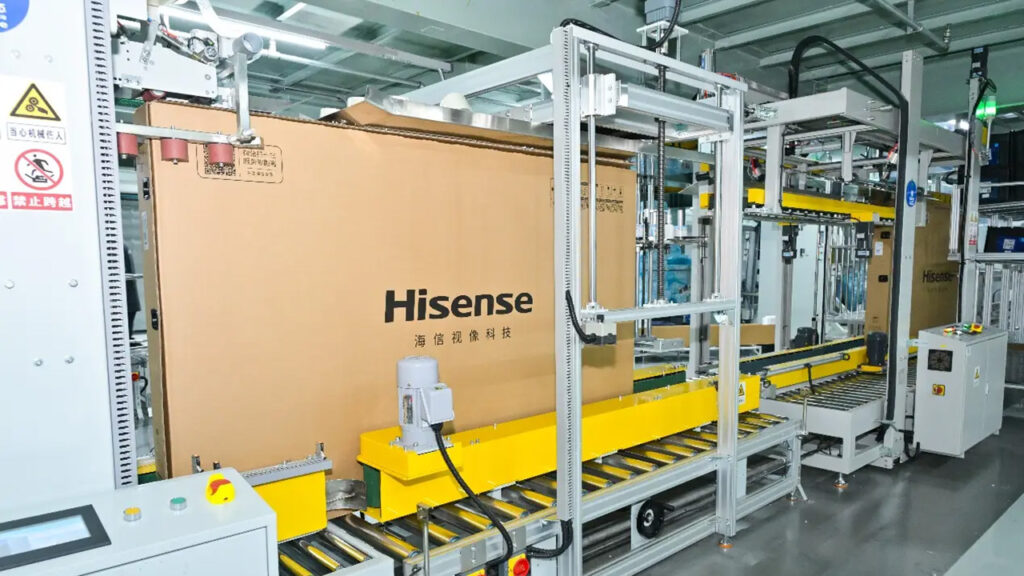
10. Final Packaging and Palletizing
Place a plastic bag over the TV and apply protective film.
Secure the TV properly inside the carton using cushioning materials like foam corner protectors.
Seal the carton automatically or manually, and apply shipping labels containing model and serial number information.
The packaged finished boxes are sent out via conveyor belt and palletized by robotic arms or manual labor, awaiting storage and shipment.